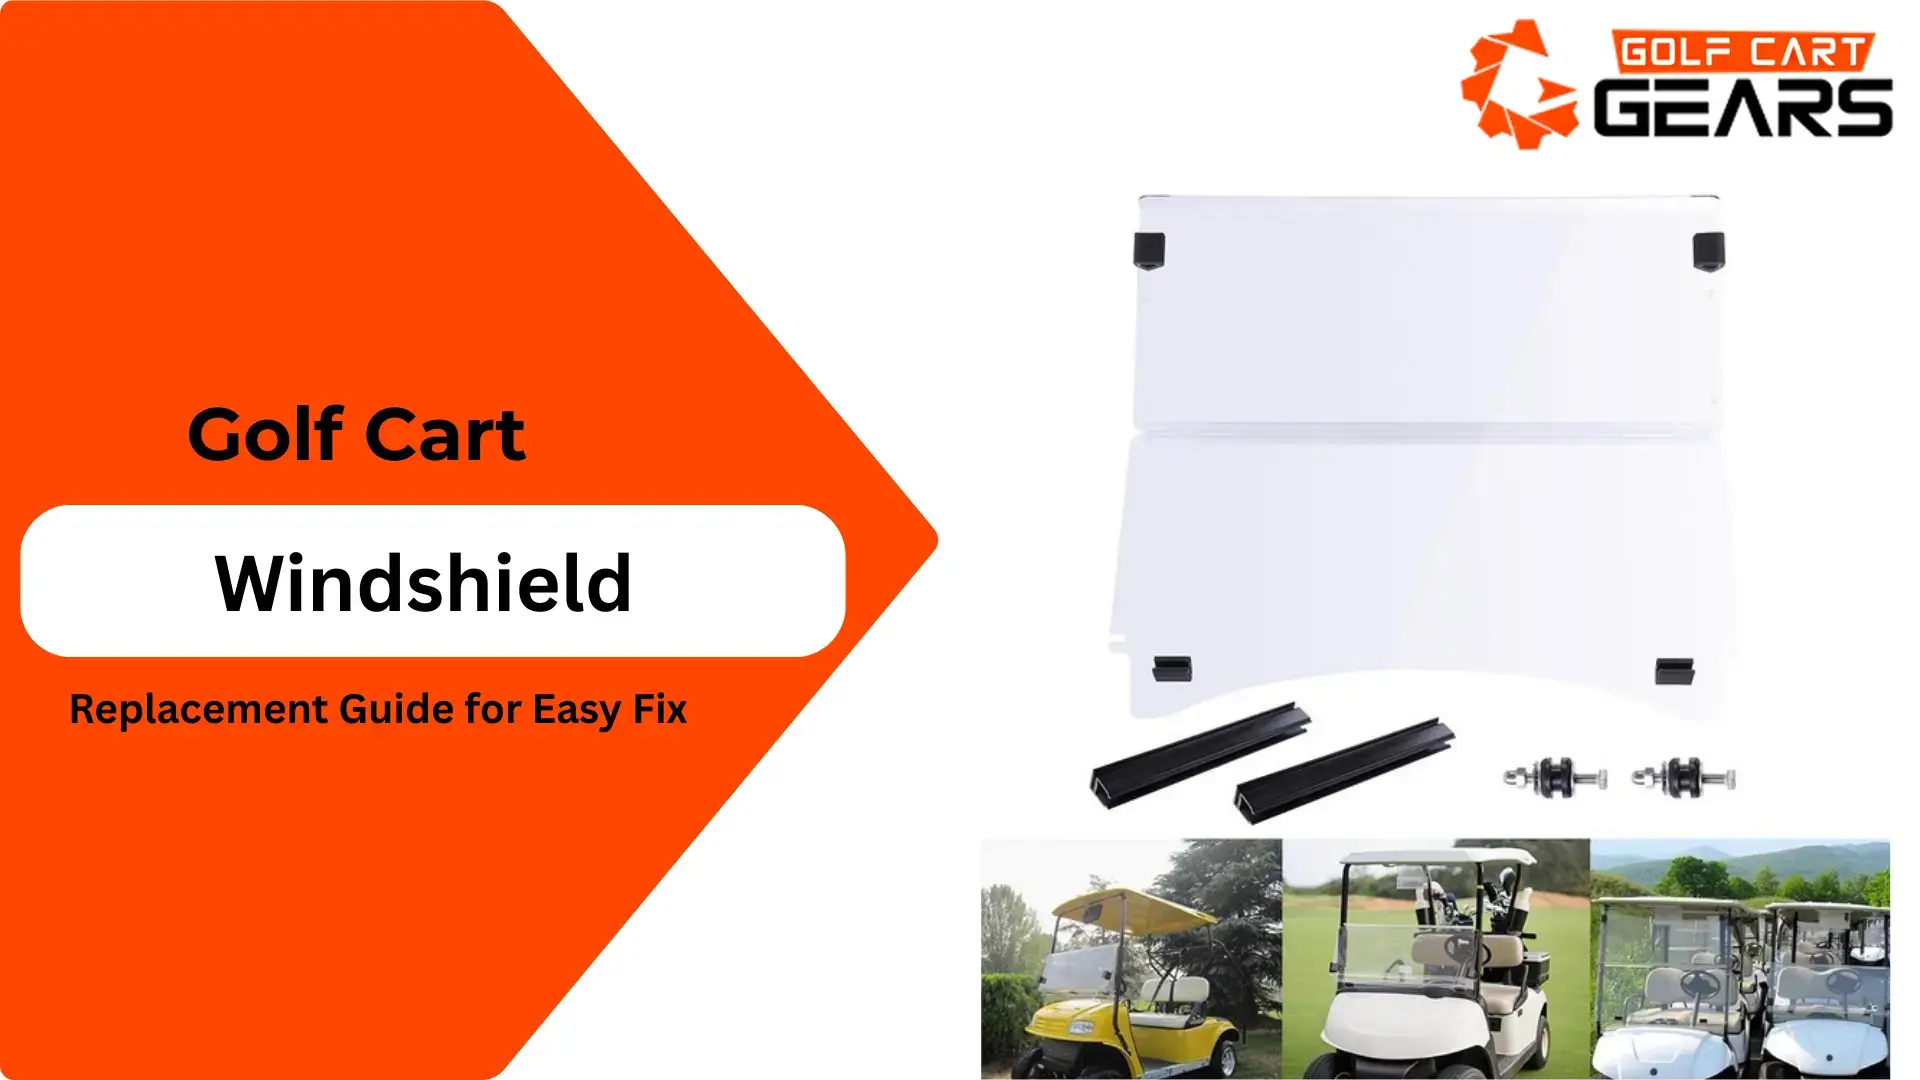
Golf cart windshield replacement is essential for maintaining safety, visibility, and overall driving comfort. A damaged or worn-out golf cart windshield does more than reduce appearance—it directly affects protection from wind, debris, rain, and road hazards. Choosing reliable golf cart gears ensures better durability, proper fit, and long-term performance. If cracks, fogging, or loose mounts are present, timely windshield replacement guarantees safer and smoother rides.
A properly installed windshield from a trusted golf cart gear protects both the operator and passengers while improving comfort in different weather conditions. Whether you use your golf cart on the course, in residential communities, or for utility purposes, understanding the replacement process helps you make informed and cost-effective decisions.
Understanding Your Golf Cart Windshield
Before beginning any windshield replacement, it is important to understand the material, style, and brand compatibility of your existing golf cart windshield. These factors directly impact durability, fitment, and long-term performance.
Most windshields are made from either acrylic or polycarbonate. Acrylic is lightweight and affordable, making it suitable for regular use. Polycarbonate, on the other hand, is more impact-resistant and durable, making it ideal for heavy-duty environments or frequent driving conditions.
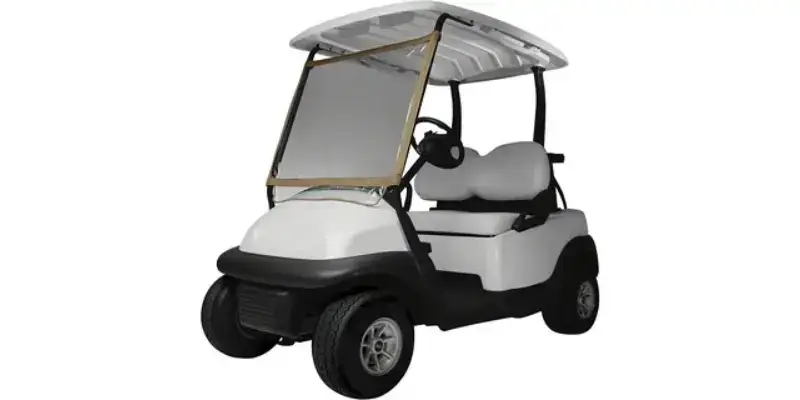
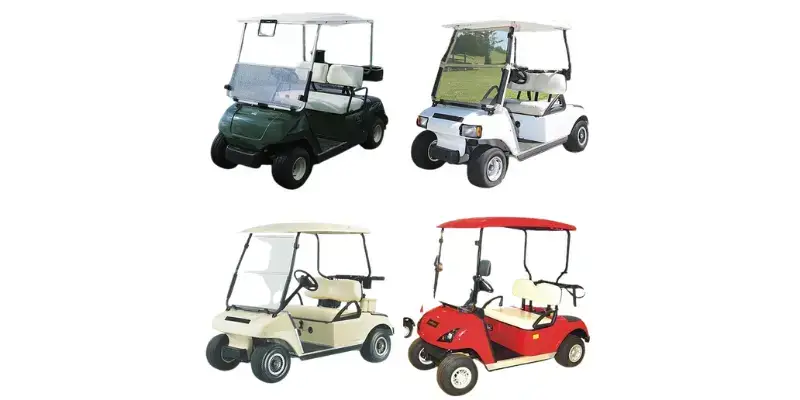
Windshields also come in full or fold-down designs. A full windshield provides constant protection, while a fold-down option allows flexibility depending on weather conditions. Compatibility is equally important—always ensure the windshield fits your specific model, whether it is EZGO, Club Car, or Yamaha.
Understanding these elements ensures that your golf cart windshield replacement provides maximum performance and longevity.
Why a Windshield Matters—Safety, Comfort, and Visibility Benefits
A golf cart windshield plays a critical role in safe operation. It shields against wind pressure, flying debris, dust, and rain while maintaining clear forward visibility.
Without a windshield, drivers often experience discomfort due to strong wind drafts and environmental exposure. Over time, this can reduce focus and increase the risk of accidents. A properly installed windshield improves passenger comfort, enhances visibility, and reduces driving fatigue.
In addition to comfort, windshield replacement improves structural stability. A secure windshield prevents vibration, rattling, and unexpected movement during driving.
Signs Your Windshield Needs Replacement
Over time, exposure to sunlight, temperature changes, and regular usage can weaken your golf cart windshield. Recognizing early warning signs helps prevent serious safety concerns.
Visible cracks or chips are the most obvious indicators. Even small fractures can expand over time. Yellowing or fogging reduces clarity and obstructs visibility, especially in bright sunlight. Loose mounts or unstable brackets also signal that windshield replacement may be necessary.
If the windshield shakes while driving or feels unstable, immediate inspection is recommended. Addressing these issues early ensures safe operation and prevents further damage.
Types of Windshields—Material, Style & Brand Compatibility
Choosing the right windshield is an important step in golf cart windshield replacement. The two primary material options include acrylic and polycarbonate.
Acrylic windshields are cost-effective and lightweight, making them suitable for casual or light-duty use. Polycarbonate windshields are stronger and more impact-resistant, offering better durability for rough conditions.
Style options include full windshields, which provide permanent coverage, and fold-down designs that allow airflow adjustment in warmer weather. Always confirm compatibility with EZGO, Club Car, or Yamaha models to ensure a secure and proper fit.
Selecting the right type improves performance and extends the lifespan of your golf cart windshield.
Preparing for Windshield Replacement
Proper preparation simplifies the windshield replacement process. Begin by gathering all required tools and materials before starting. Inspect the current windshield for cracks, broken edges, or loose mounts.
Clear your workspace to allow safe and easy movement. Wearing gloves and safety glasses is highly recommended to protect yourself during removal and installation. Preparation reduces errors and ensures a smoother installation process.
Tools and Materials Needed
Having the correct tools is essential for a successful golf cart windshield replacement. Basic tools such as flathead and Phillips screwdrivers, wrenches, or a socket set are typically required.
You will also need a replacement windshield, mounting brackets, bolts, and hardware. A soft cloth or protective padding helps prevent scratches during installation. Organizing tools beforehand avoids interruptions and saves time.
Assessing the Damage—Repair or Full Replacement?
Not every issue requires full windshield replacement. Minor chips may be repairable, but large cracks, deep scratches, or severe yellowing often require a complete replacement.
Carefully inspect broken edges and test the stability of mounts. If visibility is compromised or the windshield feels unstable, replacement is the safest solution. Evaluating the damage correctly helps avoid unnecessary expenses while ensuring safety.
Step-by-Step Golf Cart Windshield Replacement Guide
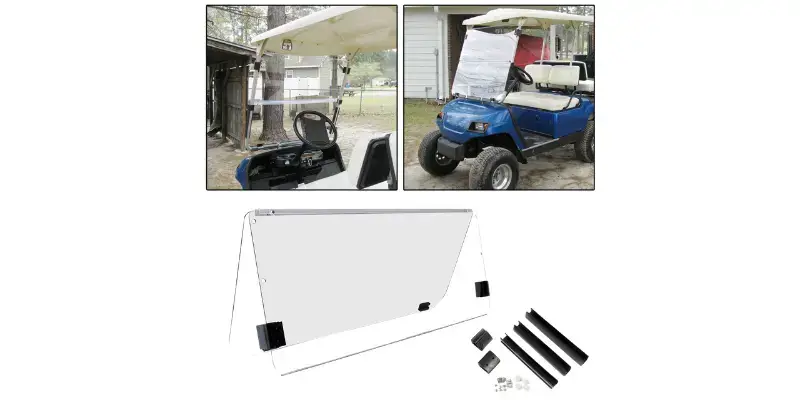
Following a structured approach makes golf cart windshield replacement simple and manageable. Work in a clean, flat area and handle the windshield carefully to prevent additional damage.
Removing the Old Windshield
Start by loosening mounting bolts slowly and evenly. Avoid applying excessive force, as this can crack the material or damage the frame. Use padding beneath the windshield during removal to protect the cart’s body.
Keep all screws and hardware organized for reuse. Removing the old windshield carefully ensures that the installation surface remains intact and ready for the new unit.
Installing the New Windshield
Position the new golf cart windshield carefully within the frame. Ensure even alignment on all sides before tightening bolts. Secure mounting brackets evenly to prevent pressure points or stress cracks.
After installation, gently test stability by applying light pressure. The windshield should feel firm without movement. Proper alignment prevents leaks, rattling, and premature wear.
Troubleshooting Common Issues
After windshield replacement, minor adjustments may be necessary. If wind or water leaks occur, inspect for small gaps. Retighten loose bolts and adjust alignment if the windshield appears tilted.
Always inspect the surface for scratches or cracks after installation. Addressing small issues immediately ensures long-term durability and reliable performance.
Maintenance, Costs, and Long-Term Care
Regular maintenance extends the lifespan of your golf cart windshield. Cleaning with a microfiber cloth and mild soap prevents scratches and surface damage. Avoid ammonia-based cleaners, as they can weaken acrylic or polycarbonate materials.
Seasonal care is also important. Protect the windshield from extreme sunlight or cold temperatures when possible. Periodically check mounts and hardware to ensure stability.
Understanding costs helps with planning. DIY installation typically ranges from $50 to $150 for parts and tools, while professional installation may cost between $100 and $300, including labor. DIY saves money but requires careful handling, while professionals provide precision and reduced risk.
Conclusion
Golf cart windshield replacement does not have to be complicated. By recognizing damage early, selecting the right material and style, and following safe installation steps, you can maintain comfort, safety, and visibility for years.
Whether you choose DIY installation or professional assistance, maintaining your golf cart windshield ensures reliable performance and a safer driving experience. Regular inspections, proper cleaning, and timely windshield replacement keep your golf cart in optimal condition.
FAQs
How do I know when my windshield needs replacement?
Look for cracks, chips, fogging, yellowing, or loose mounts. Reduced visibility signals the need for windshield replacement.
Can I replace the windshield myself?
Yes. With proper tools and careful handling, DIY installation is possible.
How long does windshield replacement take?
DIY installation takes 1–2 hours. Professional installation typically takes 30–60 minutes.
What type of windshield should I buy?
Choose based on material (acrylic or polycarbonate), style (full or fold-down), and brand compatibility (EZGO, Club Car, or Yamaha).
How can I prevent future damage?
Clean regularly, avoid harsh chemicals, protect from extreme weather, and inspect mounts periodically.
Is it cheaper to DIY or hire a professional?
DIY saves labor costs, but professional installation reduces risk.
Can small cracks be repaired instead of a full replacement?
Minor chips may be repairable, but large cracks, yellowing, or fogging require full golf cart windshield replacement for safety.